

Furniture Fiesta Life & Culture
LIFE AND CULTURE SHOPPING TRENDS HOME TOURS DESIGN DECORATING
Learn how to hang a mirror to the wall without nails using a safe, damage-free method. This guide covers preparation, step-by-step instructions, and tips for secure, drill-free mirror fitting.
Hanging a mirror on a wall can instantly enhance a room's appearance by adding light, depth, and style. But what if you're renting, don't own a drill, or simply want to avoid damaging your walls? Fortunately, you can achieve secure mirror fitting on wall surfaces without a single nail. This guide walks you through a reliable and mess-free way to stick a mirror to the wall without causing damage.
Before sticking a mirror to a wall, preparation is key. Here's how to ensure the area is ready for safe and long-lasting mirror fixing on wall surfaces:
Not all walls are ideal for adhesive-based installation. Smooth, clean, and dry surfaces like painted drywall, tiles, or wood panels are ideal. Avoid textured or damp walls, as these can prevent proper adhesion.
Use a mild detergent or alcohol-based cleaner to wipe down the area where you’ll stick the mirror. Remove dust, oil, and residue to create the best surface for the adhesive to grip.
Use a measuring tape and level to determine where you want the mirror to go. Mark the top and bottom corners with a pencil. This ensures accurate placement and avoids repositioning, which can weaken the adhesive.
Adhesive options have weight limits. Ensure your mirror does not exceed the adhesive's maximum capacity. Most heavy-duty mirror adhesives can support mirrors up to 10–15 kg.
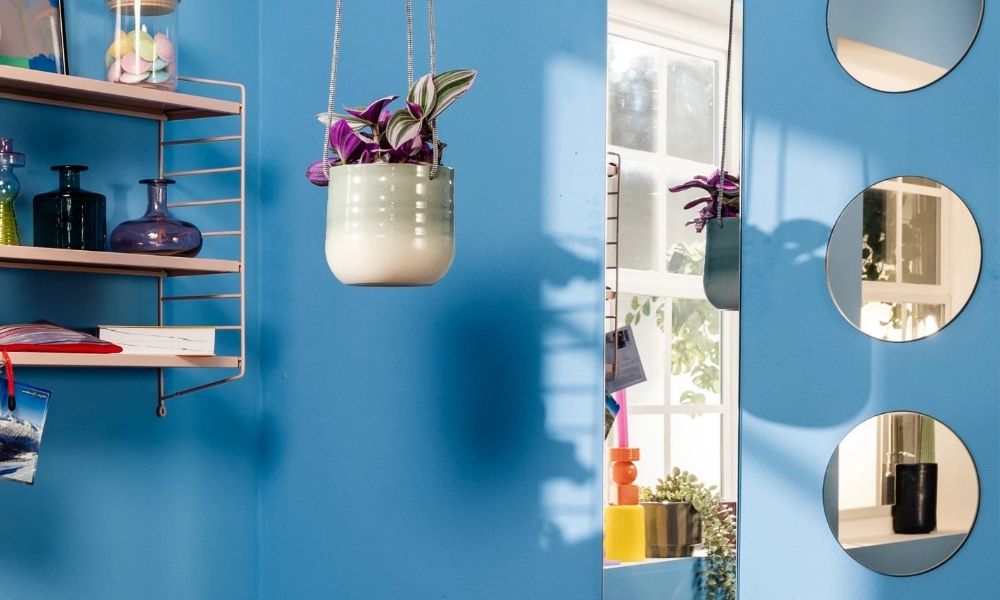
_11zon.webp "sticking mirror to wall")
Once your space is ready, it’s time to begin the process of sticking mirror to wall surfaces without drilling. Follow these steps carefully:
You'll need:
A mirror
Heavy-duty adhesive or double-sided mirror mounting tape
Spirit level
Measuring tape
Pencil
Cleaning supplies (microfiber cloth, isopropyl alcohol, etc.)
Painter's tape (optional, for temporary support)
If using double-sided mounting tape:
Cut strips of tape and apply them evenly on the back of the mirror.
Place strips near the edges and center for even distribution.
If using liquid adhesive:
Apply vertical or zigzag lines of adhesive on the back, avoiding edges to prevent overflow.
Align the mirror with your pencil marks.
Press the mirror firmly against the wall, starting from the bottom and moving upward.
Hold it in place for 30 seconds to 1 minute.
Use painter's tape or lean a soft object against the mirror to hold it while the adhesive cures. Curing time may range from 6 to 48 hours depending on the product.
Wipe away any adhesive that may have squeezed out from behind the mirror using a damp cloth.

Adhesive is the key element in mirror fixing on wall surfaces without nails or screws. Here’s how to choose the right one and apply it effectively:
Double-Sided Mounting Tape: Ideal for lightweight mirrors. Easy to use and less messy.
Liquid Mirror Adhesive: Strong and reliable for medium to heavy mirrors. Provides a permanent hold.
Silicone Adhesive: Offers flexibility and works well in humid environments like bathrooms.
Weight Capacity: Choose adhesive rated for your mirror’s weight.
Moisture Resistance: Important for bathrooms and kitchens.
Drying Time: Faster drying adhesives are convenient but may require precision during placement.
Removability: If you're renting, opt for removable adhesives to avoid wall damage later.
Read the manufacturer's instructions carefully.
Don’t overload the adhesive—more is not always better.
Ensure even distribution to prevent stress points that can cause cracking.
Avoid moving the mirror after placement.
Learning how to stick a mirror to the wall without nails opens up a range of possibilities for easy and damage-free decorating. With the right preparation, adhesive choice, and careful execution, mirror fitting on wall surfaces becomes a simple DIY task. Whether you're decorating a rental, updating your bathroom, or adding style to your hallway, following this guide ensures your mirror stays securely in place—without a single drill hole. This method works especially well alongside texture designs for hall walls, allowing you to enhance your space without compromising the design or structure.
Sticking a mirror to a textured wall is not recommended because uneven surfaces reduce the contact area for adhesion. It's best to smooth or sand the wall, or choose a flat, even surface for better mirror fitting.
To remove a mirror safely, use dental floss or fishing line to gently saw behind the mirror and break the adhesive bond. Then slowly pull the mirror away from the wall while supporting it to prevent breakage.
Yes, mirrors can be safely installed in humid areas like bathrooms as long as the wall is clean, dry during application, and the mirror is suitable for moisture-prone environments. Make sure the wall is non-porous for best results.
No, once the mirror is applied, it should not be moved. Attempting to reposition it can weaken the bond or damage the mirror. Always measure and mark the correct position beforehand.
Light to medium-weight mirrors with a flat back are ideal. Avoid heavy or irregularly shaped mirrors, as they may not hold securely with adhesive-based methods.

Discover Over 10 Sleek and Modern Sliding Wardrobe Designs Perfect for Contemporary Homes. Upgrade Your Space With Style And Funct...
Read Article
Discover Over 10 Sleek and Modern Sliding Wardrobe Designs Perfect for Contemporary Homes. Upgrade Your Space With Style And Funct...
Read Article
Discover Over 10 Sleek and Modern Sliding Wardrobe Designs Perfect for Contemporary Homes. Upgrade Your Space With Style And Funct...
Read Article